Sunday, January 8, 2012

Applelicious~Apple Crumble


When my mom came to visit for Christmas, she brought me a whole bag of Granny Smith apples from the orchard behind her house in the Blue Ridge Mountains of North Carolina. My boyfriends son was eating them along and along, but there were too many to eat. I didn't want them to go to waste so I decided to slice them up and make up something sweet. Turned out wayyyy better than I expected!


There is nothing bettter on a cold day than a warm apple dessert. Throw some vanilla ice cream on top, and I'm in HEAVEN!

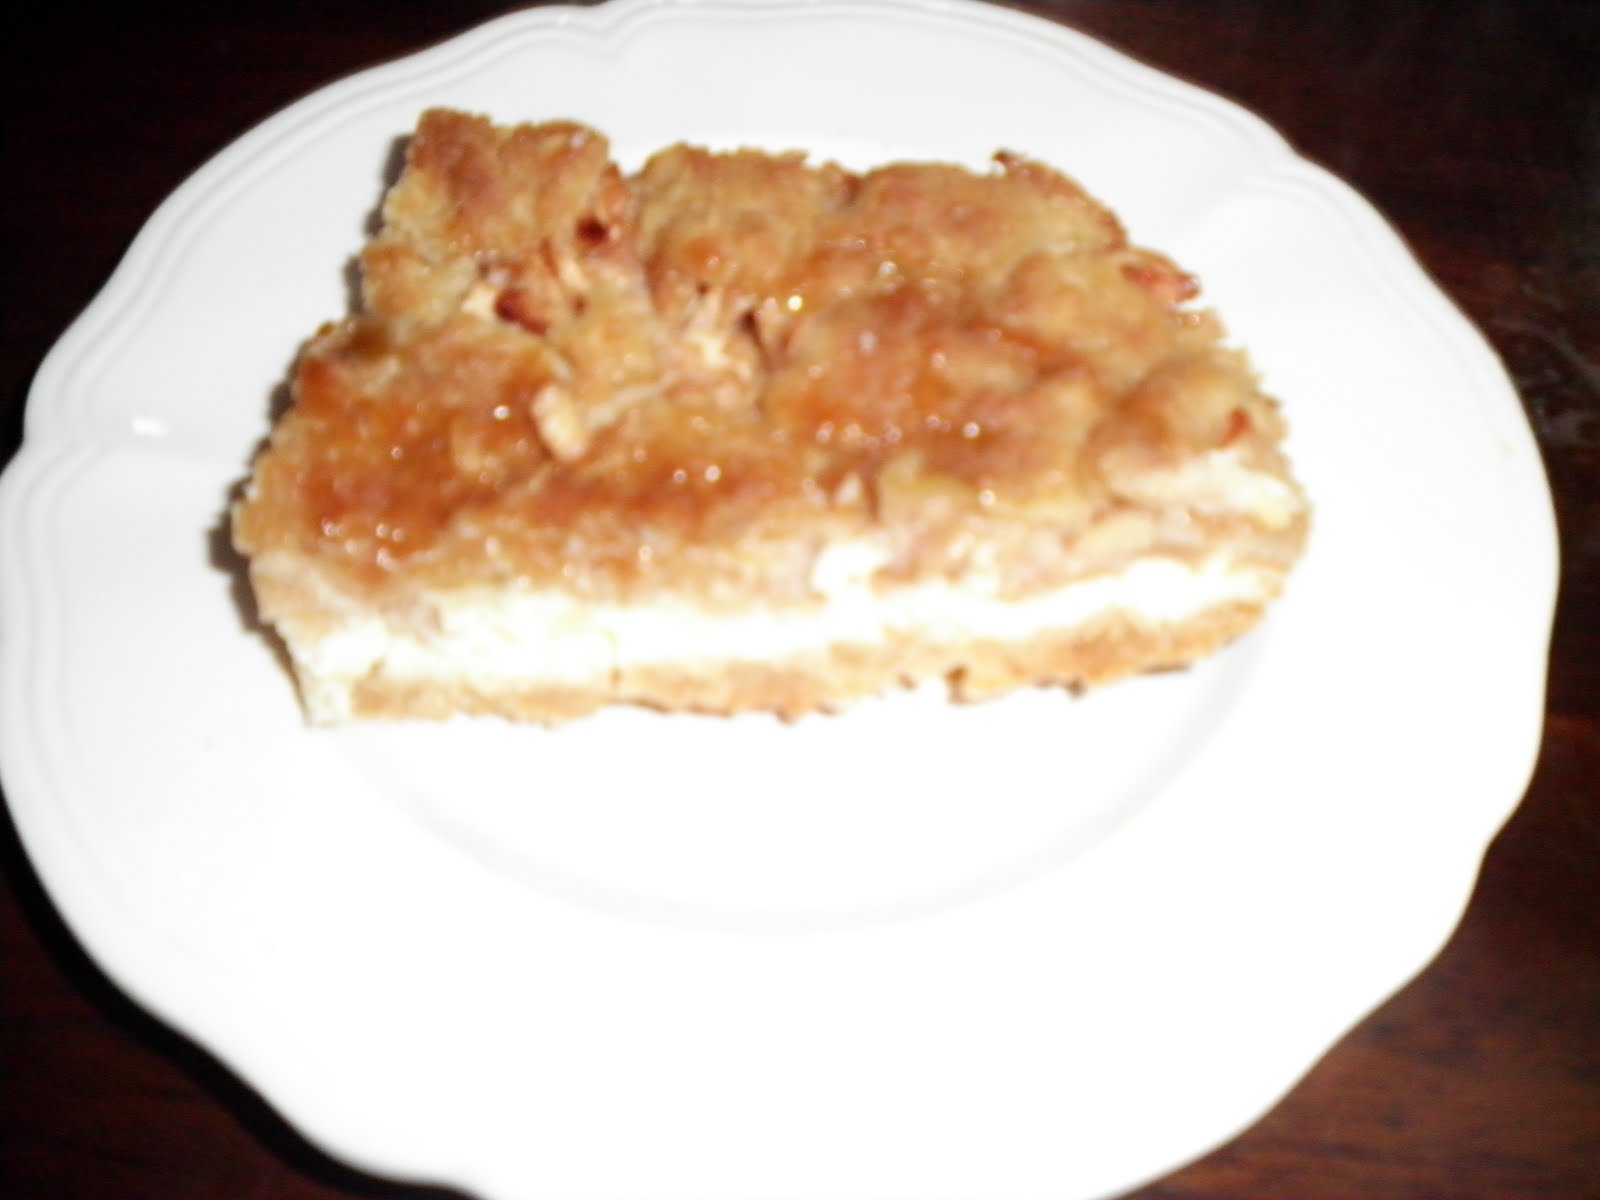
I asked my boyfriend what to name this and he came up with Applelicious, so of course I had to use it. It's more like a cinnamon apple crumble.... I was so impressed with this dessert, especially since it was something that I threw together. It turned out AMAZING! With this dessert you have the contrast of sweet and tart, soft and crunchy, and hot and cold...PERFECT!


Lets get to the how to...

Ingredients:
5 Granny Smith Apples, peeled, cored, and sliced
1/2 tbsp cinnamon
1/2 cup sugar
2 tbsp lemon juice

Streusel
1/2 cup all purpose flour
1 stick butter softened
3/4 cup brown sugar packed
3/4 cups oats


Directions:

1. Preheat oven to 375 degrees

2. Toss apples in lemon juice

3. Combine apples, cinnamon, and sugar and pour into a baking dish sprayed with nonstick cooking spray

4. In a separate bowl combine flour, brown sugar, oats, and butter

5. Sprinkle Streusel mixture evenly over the apples

6. Bake for 45 minutes or until apples are soft, but not too soft

7. Serve with ice cream and caramel sauce if desired

8. ENJOY!!!!


*I tuned the broiler on high and cooked for a few minutes to brown the streusel before pulling the apples out of the oven. It made the streusel nice and crunchy!*


Seconds. That's more like it!

Friday, January 6, 2012

Caramel Frappucino Cupcake


My weakness.....COFFEE! I am so addicted. My convos in the mornings, pre-coffee, consists of grunts, snarls, and growls. Sometimes I even show a little teeth.

I hated coffee until college, and when I realized I needed an extra boost to get me through finals I turned to coffee for help. Dunkin Donuts was on the corner between my apartment and campus so I pretty much lived at Dunkin Donuts...before class, after class, between classes, breakfast, lunch, dinner, bedtime....well maybe not bedtime but you get the picture.

I always find myself trying to justify paying so much for coffee at the local coffee shops, and I always seem to find a way for it to make sense to pay $5 for a cup of coffee..."I had a really bad day." "I had a really good day." "I deserve this." "I did good on a test." I saved money by skipping lunch."....I can always find a reason. A damn good reason to treat myself to such a perfect cup of Joe.

My point is, I'm crazy over coffee! I thought this cupcake would be sooooo perfect for me. Caramel and Coffee....what a perfect marriage of flavors....and add some whipped cream and ZAM! You've got a damn good cupcake!

It would also be fun to add a chocolate covered espresso bean to the top of the cupcake, but I did not have any..... I'll have to keep some around in the future because I will definitely be making these bad boys again!

Adapted from Ericasweettooth.com

Ingredients:
1 3/4 cups all purpose flour
2 cups sugar
3/4 cups cocoa powder
2 tsp baking soda
1 tsp baking powder
1 tsp kosher salt
1 cup buttermilk
1/2 cup vegetable oil
3 large eggs, at room temp
1 tsp vanilla
1 cup freshly brewed hot coffee
1 tsp espresso powder

*I would recommend using espresso plus espresso powder instead of coffee and espresso powder*

Directions:
1. Preheat oven to 350 degrees and line cupcake tins with paper liners

2. In one bowl, whisk together flour, sugar, cocoa, baking powder, baking soda, and salt

3. Brew coffee and dissolve espresso powder in the coffee

4. In another bowl beat buttermilk, oil, eggs, and vanilla together on medium speed until well combined

5. With the mixer on low speed, add the dry ingredients in thirds until just Incorporated

6. Add the coffee and stir until well combined, scrap the ingredients out of the bowl

7. Fill cupcake liners a little more than half way full. Do not put too much batter in the tins.

8. Bake 14-16 minutes or until toothpick comes out clean.

9. Cool completely before icing and garnishing

10. ENJOY!!!

To give this cupcake a caramel frappucino taste, I used a homemade vanilla whipped cream and then topped it off with caramel sauce.

Here's how to make the whipped cream:
4 cups of heavy cream
1/2 cup granulated sugar
3 tsp vanilla

Beat the heavy cream on high with an electric mixer until soft peaks form. Add the sugar and vanilla and continue to beat the cream until peaks form. Keep chilled until used. It also helps to chill the bowl and beaters before mixing the heavy cream.

The recipe for this whipped cream was only enough to cover half of the cupcakes, so I have doubled the recipe and added one more tsp of vanilla for flavor.

*I suggested using espresso and espresso powder because I used a strong coffee and the coffee flavor was hard to find in this cupcake although the flavor was great. Because I am such a coffee lover, I would like the coffee flavor to be a more prominent.*

*The recipe calls for hot coffee, but I would like to try this recipe again and chill the coffee before mixing it into the batter. The hot coffee instantly melted everything and the batter became very thin. The bottoms of the cupcake liners were damp after pulling them out of the oven, but they were dry the next day. I do not know if the consistency of the batter contributed to this, but it's worth a shot to try and chill the coffee before adding it in.*

*Do not overfill the cupcake wells because the batter will run over the sides of the wells before rising due to the consistency of the batter.*

I know I have a lot of notes about these cupcakes, and it looks a little scary but these are well worth it! The flavor is awesome and they are so moist. A coworker even asked how I got them to be so moist! This is a must try folks!


Wednesday, January 4, 2012

Blueberry Pancake Cupcakes with Maple and Bacon Buttercream


I had an "ah ha" moment at breakfast Monday morning when I ordered my all time favorite breakfast, blueberry pancakes with a side of bacon. I thought, "How freaking awesome would it be to make a blueberry pancake cupcake with maple and bacon frosting?" When I was a little girl my grandmother always made me blueberry pancakes on Saturday mornings, and they have been my favorite breakfast food every since!

I searched some of my favorite cupcake web pages, and sure enough it had been done! I am sooo excited to share this one with you because it can't be beat! It's an entire breakfast in one cute little cup. How cool is that???

The cupcake recipe is adapted from yourcupofcake.com, but I switched up the icing. My boyfriend is terrified of cream cheese, for whatever reason, so I made a maple buttercream and added a fresh blueberry and bacon pieces on top. The icing is super sweet, so the salty bacon is a perfect balance! EVERYTHING is better with BACON anyway!


Ingredients:
1 cup butter softened
1 1/2 cups sugar
3 eggs
2 egg whites
3 1/3 cups of flour (I used all purpose but recipe does not specify)
1 tsp baking soda
1/2 tsp baking powder
1 tsp salt
1 tbsp cinnamon
1/2 tsp nutmeg
1 cup sour cream
1/3 cup milk
1 tbsp vanilla (just realized I left out the vanilla, but these cupcakes are still awesome!)
1 1/2 cups fresh or frozen blueberries (I used fresh blueberries)

Directions:
1. Preheat oven to 360 degrees

2. Beat butter and sugar until fluffy in one bowl

3. Add eggs and egg whites slowly until fully Incorporated at low speed

4. In a separate bowl sift together flour, baking powder, nutmeg, salt, cinnamon, and baking soda
5. Add dry ingredients to butter mixture by alternating with the milk, vanilla, and sour cream. Mix each ingredient thoroughly before adding the next

6. Fold in the blueberries

7. Fill cupcake liners 3/4 of the way full and bake for about 18 minutes or until a toothpick comes out clean from the center of the cupcake

8. Cool thoroughly before icing

9. ENJOY!!!


Maple Buttercream:
2 sticks of butter softened
4 cups of confectioners sugar
1/4 cup maple syrup
Use enough milk to make the icing loose enough to pipe (a few tbsp)

Mix all ingredients together


Mix all ingredients together. Garnish cupcakes with bacon and a blueberry! You can also drizzle maple syrup over the cupcake if you wish!


Tuesday, January 3, 2012

Donuts EASY PEASY


I am obsessed with this donut shop that opened in Gloucester, Sunrise Donuts. They have the most creative flavor combos! I thought, "How awesome would it be to make my own donuts?!" Turns out, I should stick to the other sweets! I found an easy Paula Deen recipe for biscuit dough donuts. I attempted to fry two of the donuts, but they turned dark brown very quickly. I cut one open and the middle was not cooked, so I threw them aside, became irritated, and threw the rest in the oven to bake. My boyfriend came in and ate both fried donuts. The one portion of the donut I cut into was uncooked, but the rest of the donut was perfect. They tasted great! I may have had the grease too hot, so if I ever attempt these again, doubtful, then I will fry them with the grease at a lower temp. Here's what I did with the baked donuts....

Directions:


Cut holes in the biscuit dough circles (I used a cap to a pepper shaker)


Bake biscuit dough as directed on the can


You can even bake the cut out centers for donut holes


Frost or decorate donuts as desired


*I used butter, confectioners sugar, and milk for a glaze and man was it good! I do not have exact measurements, but I used about 2 tbsp of melted butter, 1 cup of confectioners sugar, and enough milk to make the icing smooth.*


*I also used 1 cup confectioners sugar, 1/8 cup cocoa powder, 1/2 tsp vanilla, and 2.5 tbsp milk for a chocolate icing.*


*I brushed melted butter on some donuts and rolled them in a sugar and cinnamon mixture, and these turned out very good.*


*These make a fun and easy snack for kids, even if baked! They would also be fun for breakfast! I would recommend trying one of my other recipes when entertaining adult friends... They may not be too impressed with these although they look awesome*

Chocolate Peanut Butter No Bake Cookies


I had no choice but to make these cookies because they are my boyfriend's favorite! When we were on our way to Maryland he had to stop at Sheetz gas station to buy their packaged chocolate no bake cookies. I was snuck a cookie out of his bag and instantly feel in love. These are super easy to make and I really like the texture that the oats add to the cookies. You can't help but love these! They are perfect for the cookie jar on the kitchen counter or for the tins that you plan to give to neighbors, coworkers, family, and friends!


These were also a great addition to my christmas cookie tins because this recipe makes so many! So lets teach ya how to make them!

Recipe adapted from Foodnetwork.com

Ingredients:
2 cups sugar
4 tbsp cocoa
1 stick butter
1/2 cup milk
1 cup peanut butter
1 tbsp vanilla
3 cups oatmeal
wax paper

Directions:
1. In a saucepan, bring to a boil the sugar, cocoa, butter, and milk.

2. Let boil for 1 minute then add peanut butter, vanilla, and oatmeal

3. Drop cook mixture by the teaspoon full on the wax paper and allow to cool and harden

4. ENJOY!!!

*I'm not really sure how many cookies this recipe made, but it was a couple dozen at least*


Friday, December 30, 2011

Caramel Apple Cheesecake Bars with Streusel Topping


As soon as I saw "CARAMEL", "APPLE", and "CHEESECAKE" in one title I was SOLD! What a PERFECT winter dessert! The tart apples and warm caramel will warm ya right up!

I did not feel very confident about this dessert in the beginning because I thought that the crust was going to be too bland, but it is such a perfect balance of flavors and textures. Combined they equal the perfect dessert! This dessert serves about 20, and it was all gone the following day at my house! It always makes me so happy when my desserts go fast. I know I'm doing something right!

This dessert could be served warm or cold! Either way, they are going to love it!

And of course we have my idol, Paula Deen, to thank for this amazing recipe. You're going to love it y'all!

Ingredients:
2 cups all purpose flour
1/2 cup packed brown sugar
1 cup butter softened
2 (8 oz.) packs of cream cheese
1/2 cup sugar plus 2 tbsp (Separated)
2 large eggs
1 tsp vanilla
3 granny smith apples peeled, cored, and diced
1/2 tsp cinnamon
1/4 tsp nutmeg
1/2 cup caramel topping

Streusel Topping:
1 cup packed brown sugar
1 cup all purpose flour
1/2 cup oats
1/2 cup butter softened


Instructions:
1. Preheat oven to 350 degrees

2. Combine flour and brown sugar

3. Cut the butter in with a blender until the mixture is crumbly

4. Press into a 13x9 inch pan lined with heavy aluminum foil (I did not line my pan with foil. I just sprayed it with nonstick cooking spray)

5. Bake 15 minutes or until light brown

6. In a large bowl, beat cream cheese and sugar with an electric mixer until smooth

7. Beat in eggs one at a time

8. Add vanilla

9. Pour over warm crust

10. In a small bowl, mix together apples, 2 tbsp of sugar, cinnamon, and nutmeg

11. Spoon over cream cheese mixture evenly

12. Sprinkle streusel topping evenly over apples

13. Bake for 30 minutes or until set

14. Pour caramel topping over the cheesecake (I waited until it cooled so that the caramel did not melt into the bars and could be seen. Try heating the caramel over a cooled cheesecake bar for a real treat! )

14. Cut into bars

15. ENJOY!!!!

**I turned the broiler on high for about 3 minutes to brown the streusel because my cheesecake was set but I was not happy with the color of the topping. Worked out perfectly!)

Brownie Chocolate Chip Cheesecake


Recipe adapted from Foodnetwork.com, Eagle Brand Recipe

SWEET JESUS! You are in for a real treat with this one! This is BY FAR the best cheesecake I have ever tasted! I was sooooo excited when I took the sides off of the springform pan and saw how beautiful this cake turned out!

I couldn't get this bad boy on the table quick enough to show it off. I was sooo proud of this cake. It turned out so moist and rich. I love the difference in textures too...the creaminess of the cheesecake and the crunch in the chocolate chip...Score!

This cheesecake is sure to impress! It looks beautiful but surprisingly is not that hard to make.

Ingredients:
Pillsbury Classic Fudge Brownie
3 (8 0z.) blocks of cream cheese
1 (14 oz) can Sweetened Condensed Milk
3 large eggs
2 tsp vanilla
1/2 cup mini chocolate chips (I used regular size chocolate chips because I could not find mini chips and it turned out great)

Directions:
1. Preheat oven to 350 degrees

2. Spray 9 inch springform pan with nonstick cooking spray

3. Prepare brownies according to box instructions for "chewy" brownies

4. Spread brownie mix evenly in pan

5. Bake for 35 minutes or until set

6. Beat cream cheese until fluffy

7. Gradually beat in sweetened condensed milk

8. Beat in eggs and vanilla until mixed well

9. Stir in chocolate chips

10. Pour batter into prepared pan

11. Reduce oven temperature to 300 degrees

12. Bake for 50 minutes or until set (Mine took about 1 hour)

13. Cool and Chill

14. Remove side of pan and garnish as desired

15. ENJOY!!!

**I garnished my cheesecake with mini chocolate curls. To make chocolate curls use a vegetable peeler and run it down the edge of a chocolate bar. If the chocolate is too cool or too warm it will not work. Make sure the chocolate is a little cooler than room temperature.**

**Jiggle the pan before taking it out of the oven. You should be able to tell if the cheesecake is set. If the cheesecake is not set then the middle will jiggle a lot....a little tip my mom gave me.**