Thursday, December 8, 2011

Chocolate Chip Cookie Dough Brown Butter Cupcakes


CHOCOLATE COOKIE DOUGH CUPCAKE? GENIUS!

WOW best cupcake EVER! I didn't think these would be my fav, but I made them because my guy loves cookie dough. Turns out, my new FAV!

I stumbled upon an awesome website, cupcakeproject.com and found this recipe. You can use any cupcake recipe with this icing and filling.

These are great for kids or you can pretty them up for your pals! Who doesn't love cookie dough right?!?!

Here's the recipe!

Brown Butter Cupcake:
1/2 cup + 2 tablespoons unsalted butter
3/4 cup self rising cake flower (I could not find cake flour, so I just used Pillsbury Self Rising Flour...not sure if there is a difference, but worked great!)
3 tablespoons sugar
5 tablespoons brown sugar
2 large eggs
1 teaspoon vanilla
2-3 tablespoons milk

Directions:

1. Brown the butter. Place butter in a sauce pan on medium heat and cooking until it turns a golden brown color. Stirring constantly.

2. Take the pan off of the heat and strain the butter into a bowl to remove sediment

3. Let the butter sit until it solidifies

4. When the butter is solid but soft, place in a food processor along with all of the cupcakes ingredients except milk.

5. Mix ingredients and add milk slowly until well mixed

6. Pour into cupcake wells about half way

7. Bake at 400 degrees for 15-20 minutes

8. When cupcakes cool, use a knife to cut out the centers

9. Place a ball of cookie dough in the middle

10. Cover the hole with the cake removed

Cookie Dough (egg free):
2 cups all-purpose flour
1/2 teaspoon salt
3/4 cup of unsalted butter (melted)
1 cup packed brown sugar
1/2 cup sugar
1 tablespoon vanilla
4 tablespoons milk
Any amount of chocolate (I used chocolate chips)

Icing:
Mix 1 cup cookie dough with 1 cup heavy whipping cream

Tip: I topped my cupcakes with a chocolate chip and shredded chocolate but you could also top them with cookie dough balls

I made 7 cupcakes with this recipe. I probably could have made 8 or 9 but I don't have a food processor so I used my smoothie maker. When I poured the batter out, there was batter in the bottom of the mixer that was not mixed well so I threw it out.

These are going to be a hit!!

Wednesday, December 7, 2011

S.U.G.A.R

I am in LOVE with this idea! These little sugar...things....would be great to decorate cupcakes or cakes! These are soooo easy to make!

>Pour some sugar (At least 1/2 cup) in a sauce pan and cook on medium-high heat until the sugar starts melting and liquifies. You can add more sugar at this point if it looks like you need more. Make sure you stir the sugar consistantly as it melts.
>When you smell the sugar starting to caramelize, take the sugar off of the heat.
>Continue to stir the sugar until it starts to pull like taffy.
>You can roll the sugar around a greased wooden spoon handle or greased knife sharpener and immediately pull off and place on parchment paper. You can also pour the liquid sugar over wax paper. It drys quickly and can be peeled off and used to decorate your cakes!

S.W.E.E.T!

Chocolate Covered Peanut Butter Mousse

I am the BIGGEST peanut butter fan EVER, so when I found this recipe in my new Pampered Chef cookbook I was sooo excited to try it! These are sooo good. The peanut butter mousse is light and fluffy and delicious!

The recipe makes 12, but I messed 5 of these up:( After all that hard work! And these are NOT easy to make. I was upset to say the least. I made these to give to my supervisor for her birthday, and she has to like them. They are too good not to L.O.V.E!

Here's how to make them!

Ingredients:

Glaze:
1 11.5 oz. bag of milk chocolate morsels
3/4 cup butter (1 1/2 sticks)
4 tablespoons light corn syrup

Mousse:
1 cup milk chocolate morsels
1/4 cup plus 2 tablespoons peanut butter
3 tablespoons butter
3 egg yolks
2 tablespoons sugar
3/4 cup heavy whipping cream

Directions:
1. For glaze, combine chocolate and butter in double boiler. Stir occasionally for 3 to 4 minutes until the chocolate is mostly melted. Remove from heat and stir in corn syrup.

2. Scoop enough glaze into a silicone floral cupcake pan. Use a basting brush and cover the sides of the wells. Refrigerate 5-10 minutes and repeat. Set remaining glaze aside.

3. Mousse-place chocolate, peanut butter, and butter in bowl and microwave for 1.5 minutes on high uncovered. Stir every 30 seconds. Stir until smooth. Set aside.

4. Whisk egg yolks and sugar in clean double boiler bowl. Cook on medium-high, whisking, until thermometer reads 140 degree F or 60 degrees C.

5. Pour egg mixture into mixing bowl and beat at medium speed slowly adding the chocolate mousse mixture.

6. Use clean beaters and beat the heavy whipping cream on medium-high speed until soft peeks are formed.

7. Fold whipped cream into chocolate mixture.

8. Spoon mousse into cupcake wells.

9. Reheat chocolate glaze for just a few seconds and pour the glaze over the mousse.

10. Refrigerate for at least 3 hours.

11. Turn the pan over on cutting board and press gently on wells to remove cakes.

12. ENJOY!

TIPS: I do not have a double boiler, so I used a stainless bowl and a sauce pan, it worked just fine ALTHOUGH this is how I messed up some of my cakes! Grrr! When I was tilting the pan to get all of the chocolate out of the pan, I poured water over a few of the wells:( Ugh, so sad! These things are FREAKING HARD to make!

Also, I sprayed the wells with nonstick cooking spray. Probably a bad idea. I think this made it hard for the chocolate to stick to the side of the wells. Directions do not instruct you to spray the wells, but I have never used a silicone pan before, so I did not know what to expect. I do not think that they will stick if you dont spray the wells.


Tuesday, December 6, 2011

Just a note...

I am SOOOO excited to try out my new silicone floral cupcake pan from Pampered Chef! I also ordered a cookbook with chocolate recipes, and OMG some of the recipes look AMAZING! Some of the cake and pie recipes I plan to alter a little and turn them into cupcakes in order to use my new pan.... this pan can only be described as pure awesomeness!

WOW, new pans, a new mixer, new cookbooks....this is getting legit!

I will be cooking up something new and AWESOME soon! I am up to my eyeballs in research articles! I turned in an 8 page paper tonight and have one more 20 page paper due tomorrow....and then I am ready for some SWEET STRESS RELIEF, Baking of course!

See ya!

Saturday, December 3, 2011

Key Lime Pound Cake and Pound Cake with Lemon Glaze

I finally bought a mixer! I know, your thinking "A baker without a mixer?" True. I was using a blender until last night. I wanted to hold out until I could by a nice mixer, maybe a Kitchenaid, but I couldn't use my smoothie maker ANYMORE! So I bought a simple hand held mixer, not the cheapest, but not the best either...but hey, it works!


I am SUCH a fan of lime! Key lime pie, Limeade, Mojitos, Margaritas, KEY LIME POUND CAKE...BRILLIANT!! This is a must try!

I used Paula Dean's recipe for "Mama's Pound Cake". You know it's gonna be good yall if it's a Paula Deen recipe! And as you know, "Butter is just a little stick of smiles and happiness!"

I used a very basic recipe for the glaze. The same recipe my mother and grandmother used to decorate sugar cookies at Christmas time, but I added a little key lime juice to one glaze and a little fresh squeezed lemon to the other.


Ingredients:

Cake:
1/2 pound of butter
1/2 cup vegetable shortening
3 cups of sugar
5 eggs
3 cups all-purpose flour
1/2 teaspoon salt
1 cup milk
1 teaspoon vanilla

Glaze:
1 Cup confectioners sugar
A little milk (about 2 tablespoons)
2 tablespoons of key lime juice OR 3 tablespoons of fresh squeezed lemon juice


Directions:
1. Preheat oven to 350 degrees

2. Cream butter and shortening together

3. Add sugar a little at a time

4. Add eggs one at a time

5. Mix dry ingredients in a separate bowl

6. Alternate adding the dry ingredients and the milk a little at a time

7. Mix in vanilla

8. Pour into a greased and floured pan

9. Bake for 1 1/2 hours or until a toothpick comes out clean

10. When the cake is cooled mix confectioners sugar, milk, and key lime juice until the glaze is loose enough to pour over the cake. OR cofectioners sugar, mile, and fresh squeezed lemon

11. Pour glaze over the cake

12. ENJOY!!!

Tips:
I divided this recipe in half after it was all mixed together and added 1/8 cup of key lime juice to half the batter. The taste is very subtle, but very good. Just enough!


Add the milk to the confectioners sugar a little at a time...a little milk and key lime or lemon juice goes a long way!


When sqeezing a lemon, squeeze it upside down so that the seeds do not fall into your glaze.


This recipe makes LOTS of cake batter! It was pouring over the sides of my bowl...hmmm note to self....get bigger mixing bowls! Anyway, this recipe made 8 of these little cakes! If you are using mini cake pans, you can cut this recipe in half. (Cute little cake pans courtesy of Mom Dukes...thanks Mom!)


Friday, December 2, 2011

Blueberry Crumb Cake


OH MY GOSH!  I am in love!  This cake is DE-LIC-IOUS!  It is good for desert or with coffee for breakfast!

Recipe from Foodnetwork.com

Ingredients:

Streusel:
1/4 cup sugar
1/3 cup light brown sugar
1 teaspoon cinnamon
1 teaspoon nutmeg
1 stick unsalted butter melted
1 1/3 cups all purpose flour

Cake:
6 tablespoons unsalted butter
3/4 cup sugar
2 large eggs (at room temp)
1 teaspoon vanilla
1/2 teaspoon lemon zest
2/3 cup sour cream
1 teaspoon baking soda
1/2 teaspoon salt
1 cup blueberries
Confectioners sugar to sprinkle over the top

Directions:
1. preheat over to 350 degrees. 

2. Combine all of the dry ingredients for the streusel and then stir in the melted butter, set aside

3. Cream butter and sugar in a bowl on high speed until mixed well

4. Add eggs, lemon zest, sour cream, and vanilla to mixture on low speed

5. In a separate bowl, mix flour, baking powder, baking soda, and salt

6. Add the flour mixture to the wet ingredients slowly with mixer on low speed

7. Fold in blueberries

8. Pour into a greased and floured 9 inch cake pan

9. Crumble the streusel mixture over the batter with your fingers

10. Bake for 40-50 minutes or until a toothpick comes out clean

11. After the cake is completely cooled, sprinkle with powdered sugar

12. Enjoy!!!

Tips: I would would recommend adding more blueberries.  To me, the cake could have used more.  Also, I added a little bit extra cinnamon to my streusel mixture.  Overall, this cake is sooo good!


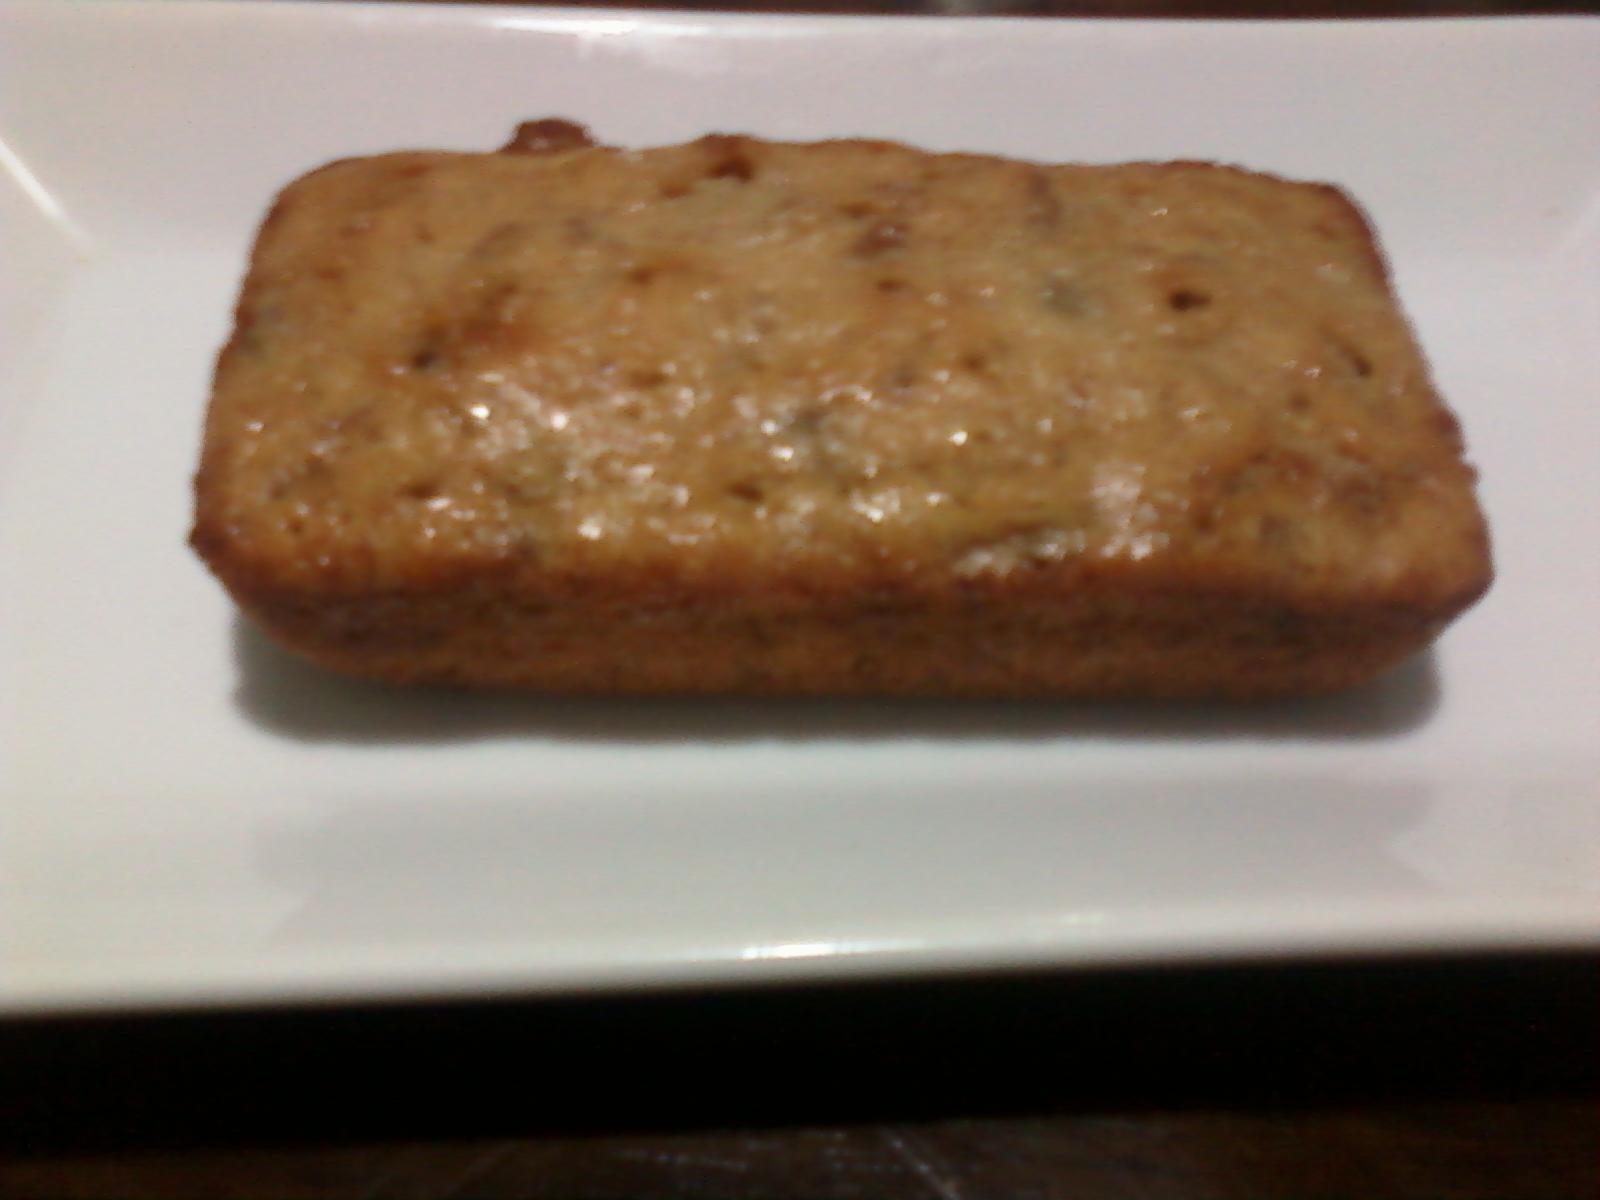
BANGIN Banana Bread Minis


Gotta love Banana Bread! It's awesome for breakfast, dessert, or a snack. You can eat it warm or cold, with butter or without. You can make banana bread muffins or loafs...what a versatile little food! I like my banana bread with walnuts, but you could use pecan or leave the nuts out all together. My boyfriend is ALWAYS asking me to bake Banana Bread. He was a HUGE FAN of this recipe! This banana bread didn't last long around my house! I used mini loaf pans and wrapped each mini loaf separately for him to take to work for breakfast...cuteness.

Oh, and sorry the pics are so bad. I couldn't find my camera and had to use my cell phone camera...

I altered a recipe from Allrecipes.com and came up with this....

Ingredients

2 cups all purpose flour
1 teaspoon baking powder
1/4 teaspoon of salt
1/2 cup butter (room temp)
3/4 cup brown sugar
2 eggs 2 1/2 cups bananas (mashed)
1 1/2 cups chopped walnuts

Directions

1. Preheat oven to 350 degrees

2. Combine flour, baking powder, and salt in a bowl

3. Cream together butter and brown sugar

4. Stir walnuts into the butter and brown sugar mixture

5. Add the dry mix to the wet mix and mix together

6. Fold in mashed bananas

7. Pour into a greased loaf pan (I used mini loaf pans, makes 4)

8. Bake for about 60 minutes or until toothpick comes out clean (Bake time will be shorter if you use mini loaf pans like I did, hence "Banana Bread Minis")

9. Enjoy!

Tip: Peel and freeze bananas too ripe for your taste. Allow them to defrost and use them in Banana Bread. Works great!
Also, ripe bananas work best in Banana Bread!